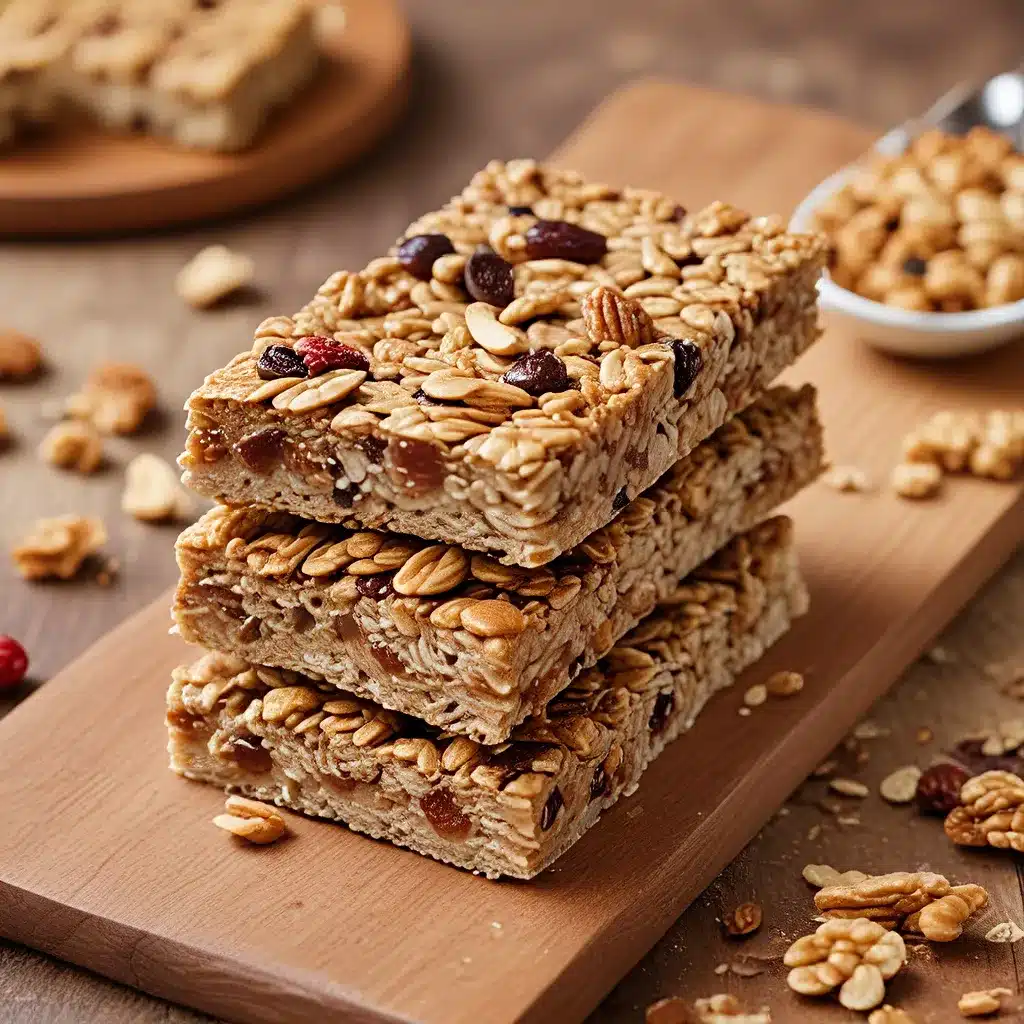
As a self-proclaimed granola bar connoisseur, I have to admit – I’ve had a love-hate relationship with these portable snacks over the years. On one hand, they can be a godsend when hunger strikes and you need something quick, filling, and (somewhat) nutritious. But on the other hand, have you ever read the ingredient list on a store-bought granola bar? It’s enough to make your head spin!
That’s why I was thrilled to stumble upon a recipe for healthy, homemade granola bars that tick all the boxes – simple, wholesome ingredients, no baking required, and a taste that will have you coming back for more. And let me tell you, these little DIY snacks have been life-changing.
The Quest for the Perfect Granola Bar
It all started when I discovered the glory that is the Trader Joe’s Apple Pie Bar. I mean, how could you go wrong with a snack that tastes like apple pie in bar form? But alas, the high fructose corn syrup and other questionable ingredients had me feeling a bit… suspicious. So I started exploring more basic versions made with good ol’ rolled oats.
But then, somewhere along the way, I realized that even those “healthier” granola bars were still packed with added sugars and just didn’t sit quite right with me. That’s when I knew it was time to take matters into my own hands and create the perfect homemade granola bar.
Enter the 5-Ingredient, No-Bake Wonder
When I stumbled upon the Minimalist Baker’s recipe for 5-Ingredient No-Bake Granola Bars, I knew I had hit the jackpot. The simplicity of the ingredient list was music to my ears: dates, almonds, oats, peanut butter, and maple syrup or honey. That’s it! No high fructose corn syrup, no mystery additives – just pure, wholesome goodness.
And the best part? No baking required. I’m all about minimal effort when it comes to homemade snacks, and these bars fit the bill perfectly. You literally just throw everything in a food processor, press it into a pan, and voila! Granola bar heaven.
Customizing to Perfection
One of the things I love most about this recipe is how endlessly customizable it is. Don’t like peanut butter? Swap in almond, sunflower, or any other nut or seed butter of your choice. Prefer a different sweetener over maple syrup or honey? No problem – agave nectar or brown rice syrup would work just as well.
And the add-ins? The possibilities are endless! I’ve experimented with everything from dried cranberries and toasted coconut to mini chocolate chips and chopped nuts. The key is to just keep the total volume of mix-ins around 1 cup or less, so the bars still hold their shape.
The Perfect Snack for Any Occasion
These homemade granola bars have become an absolute staple in my household. They’re the perfect on-the-go snack to keep me fueled through long workdays or busy weekends. And let’s be real – they’re also the perfect excuse to indulge in a little mid-afternoon treat, guilt-free.
Plus, they’re super filling thanks to the combination of fiber-rich oats, healthy fats from the nuts and nut butter, and natural sweetness from the dates and maple syrup. I find that one or two of these bars can easily tide me over until my next meal, making them an absolute lifesaver when hunger strikes.
The Foolproof Method
Now, I know what you might be thinking – “Homemade granola bars? Sounds like a lot of work.” But trust me, this recipe is as foolproof as they come. The hardest part is waiting for the bars to set in the fridge or freezer before diving in!
Here’s the step-by-step process:
- Process the dates: Toss your dates in a food processor and let them work their magic until they form a sticky, gooey paste.
- Add the other ingredients: Simply throw in the oats, almonds, peanut butter, and sweetener of your choice, and let the food processor do its thing.
- Press and chill: Transfer the mixture to a parchment-lined baking pan, press it down firmly, and pop it in the fridge or freezer to set.
- Cut and enjoy: Once the bars are nice and firm, slice them up and devour! Pro tip: store any extras in the freezer for long-lasting freshness.
The Perfect Granola Bar, Perfected
I honestly can’t say enough good things about these homemade granola bars. They’re healthy, satisfying, and endlessly customizable – what more could you ask for in a snack? And the fact that they’re no-bake and come together in a matter of minutes is just the icing on the cake.
So if you’re on the hunt for a truly wholesome, delicious, and easy-to-make granola bar option, I highly recommend giving this recipe a try. Trust me, once you experience the joy of a homemade granola bar, you’ll never go back to the store-bought stuff.
And who knows, you might even find yourself becoming a granola bar connoisseur like me. After all, there’s always room for one more snack enthusiast in the world!

