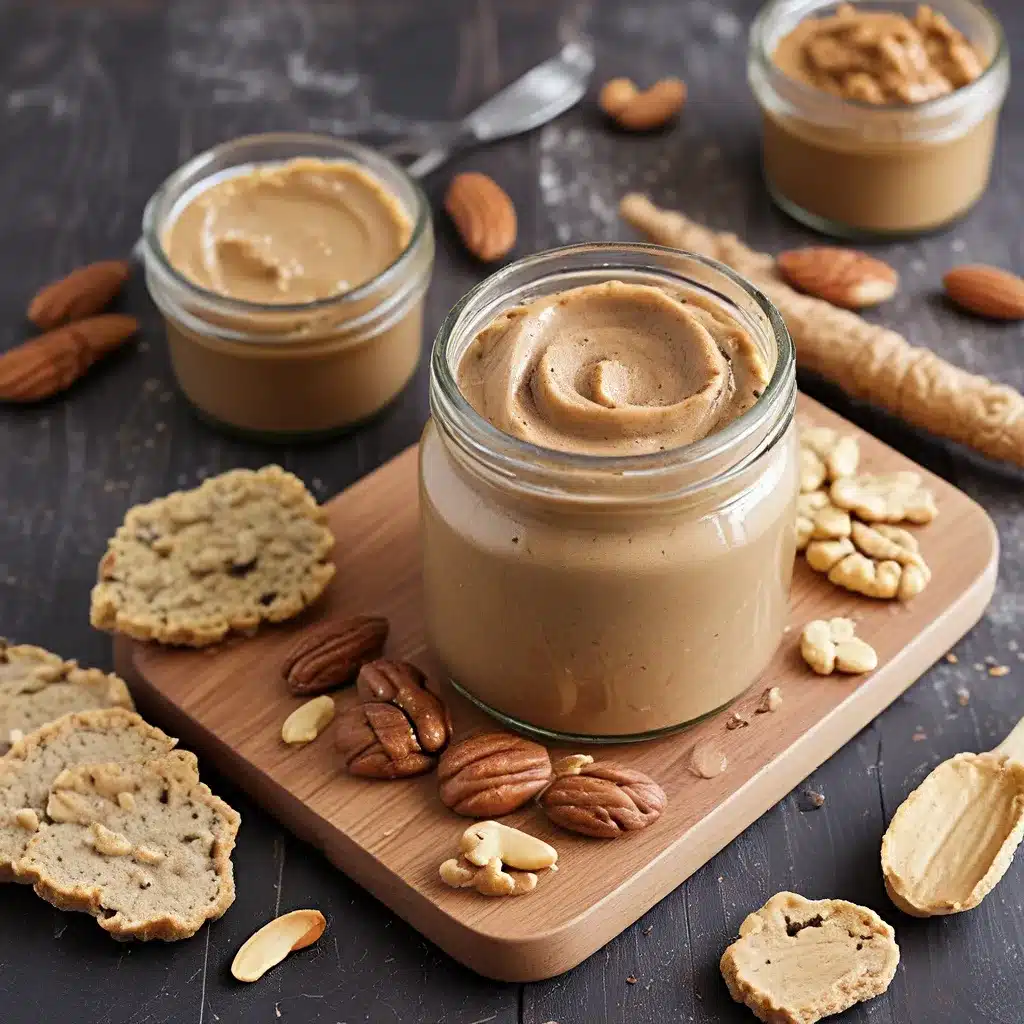
Ah, the glorious world of homemade nut butters and spreads – where the possibilities are as endless as the creamy, dreamy textures they offer. If you’re like me, the idea of whipping up your own nutty delights at home is equal parts exciting and intimidating. But fear not, my fellow food enthusiasts! With a little know-how and a lot of enthusiasm, creating your own customized nut butters is not only doable, but downright delightful.
The Joy of Homemade Nut Butters
I don’t know about you, but there’s something so satisfying about taking a simple ingredient like nuts and transforming them into a silky, spreadable treat. Sure, you can head to the store and pick up a jar of the pre-made stuff, but trust me, homemade nut butters are in a league of their own. Not only do they taste infinitely better, but you have the power to control the ingredients, adjust the flavors, and tailor the texture to your exact preferences.
Picture this: you start with a humble handful of raw peanuts or almonds, then watch as they magically blend and transform into the creamiest, most luxurious nut butter you’ve ever tasted. It’s truly a culinary alchemy that’s both fascinating and rewarding. And the best part? You get to savor the fruits of your labor, whether that means slathering it on toast, dolloping it into your morning smoothie, or – let’s be real here – eating it straight by the spoonful.
The Nut Butter Basics
Okay, let’s dive into the nitty-gritty of homemade nut butters. The basic premise is simple: you take your nut of choice, toast it (if desired), then blend it into a smooth, spreadable consistency. Sounds easy enough, right? Well, there are a few key tips and tricks to ensure your nut butter journey is a successful one.
First and foremost, the type of nut you use will greatly impact the final flavor and texture. Peanuts, almonds, cashews, walnuts, and even macadamia nuts can all be transformed into delectable nut butters. Each offers its own unique profile, from the rich nuttiness of peanuts to the buttery creaminess of cashews. Experiment with different nuts to find your personal favorite.
Next, consider the roasting or toasting process. While some nuts, like peanuts, can be blended straight from their raw state, others (like almonds or hazelnuts) benefit from a quick toasting session. This helps to intensify the flavor and unlock the natural oils, resulting in a silkier, more spreadable texture.
Finally, pay attention to the blending method. A high-powered blender or food processor is essential for achieving that coveted smooth and creamy consistency. Start slow, then gradually increase the speed, stopping to scrape down the sides as needed. Be patient – it may take several minutes of blending to reach your desired texture.
Customizing Your Nut Butters
Now, the real fun begins: personalization. Once you’ve mastered the basic nut butter formula, the world is your oyster (or your peanut, as the case may be). Get creative with add-ins, spices, and mix-ins to craft your own signature spreads.
Sweet Additions: A touch of honey, maple syrup, or vanilla extract can lend a delightful sweetness to your nut butters. You can also experiment with dried fruits, like cranberries or dates, for a burst of natural sweetness.
Savory Spices: Adding a pinch of cinnamon, a dash of cayenne, or a sprinkle of sea salt can take your nut butter in a more savory direction. Smoked paprika or garlic powder are also delicious options.
Nutty Combinations: Why stick to just one nut when you can blend them together? Try mixing peanuts and almonds or cashews and pecans for a complex, layered flavor.
Texture Play: For a crunchy twist, fold in some chopped nuts or toasted coconut flakes. Or, if you prefer a silkier spread, add a touch of neutral oil to achieve your desired consistency.
The possibilities are truly endless, so have fun experimenting and finding the nut butter combinations that tantalize your taste buds the most. Remember, the beauty of homemade is that you’re in complete control.
Storing and Enjoying Your Creations
Ah, the final step: properly storing and savoring your homemade nut butters. First and foremost, be sure to store your nut butters in an airtight container in the refrigerator. This will help them maintain their freshness and prevent any unwanted oxidation or separation.
Now, the real question: how do you enjoy these delectable creations? Well, the options are as endless as the flavors themselves. Spread it on toast, dollop it into oatmeal, or (my personal favorite) grab a spoon and dive right in. You can also use your nut butters as a base for sauces, dressings, and even baked goods.
And let’s not forget the health benefits of homemade nut butters. Unlike their store-bought counterparts, which can be loaded with added sugars and preservatives, homemade versions are typically high in healthy fats, protein, and fiber. Plus, you have complete control over the ingredients, so you can avoid any unwanted additives.
So, what are you waiting for? Grab those nuts, fire up the blender, and get ready to embark on a delicious DIY adventure. Whether you’re a seasoned nut butter aficionado or a curious beginner, I promise the rewards of homemade will have you hooked. Happy blending, my fellow food explorers!

