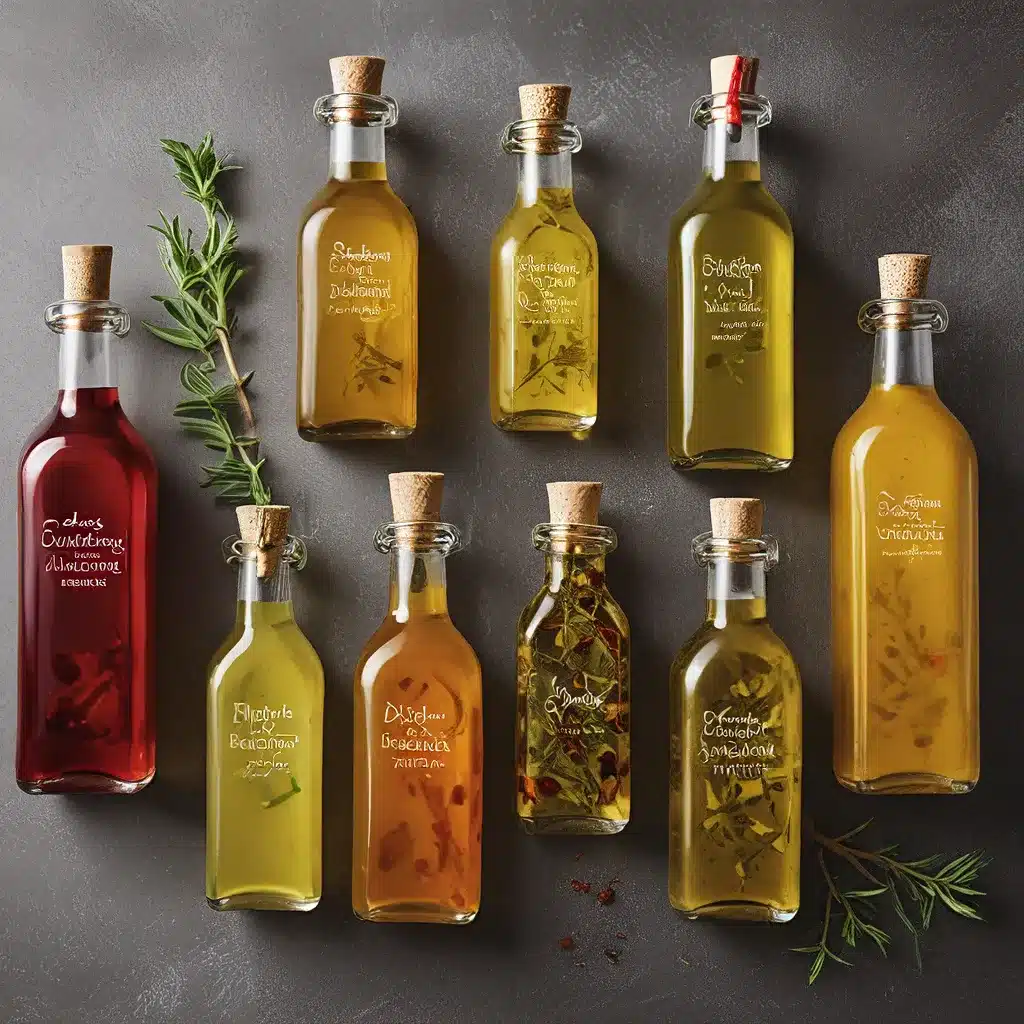
Ah, the joys of crafting your own custom-infused oils, vinegars, and extracts! As a passionate home cook and food enthusiast, I’ve found immense pleasure in exploring the world of DIY flavor infusions. It’s a realm where I can unleash my creativity, experiment with unique ingredients, and craft bespoke condiments that elevate my culinary experiences.
The Allure of Homemade Infusions
There’s just something so satisfying about taking a humble ingredient like vinegar or oil and transforming it into a work of flavor art. Maybe it’s the sense of accomplishment I get from seeing the vibrant colors and captivating aromas come to life. Or perhaps it’s the joy of knowing that I’ve captured the essence of nature’s bounty – from the sweet, earthy notes of fresh herbs to the tart, fruity profiles of berries and citrus.
Regardless of the motivation, crafting your own infusions is a truly rewarding process. It allows you to venture beyond the confines of mass-produced condiments and explore a world of nuanced, personalized flavors. Plus, it’s a fantastic way to preserve the season’s freshest produce and enjoy its goodness long after the harvest.
Choosing Your Vinegar and Oil
Before you embark on your infusion journey, it’s important to select the right vinegar and oil as your base. The type of vinegar you choose can significantly impact the final flavor profile of your creation.
As the experts at Amazing Food Made Easy suggest, unpasteurized apple cider vinegar with the “mother” is an excellent choice, as it retains beneficial bacteria and imparts a rich, complex flavor. Alternatively, balsamic vinegar can lend a delightful sweet-tart balance, while rice wine vinegar offers a more delicate, slightly sweet profile.
When it comes to oils, the options are equally endless. Olive oil is a classic choice, with its earthy, peppery notes, but you can also experiment with more unique varieties like avocado oil, grapeseed oil, or walnut oil. The key is to select an oil that complements the flavors you plan to infuse.
Choosing Your Infusion Ingredients
The real fun begins when you start brainstorming the ingredients you want to infuse into your vinegar or oil. As Corinna Wood, a chef and homesteader, eloquently describes, the possibilities are truly endless – from fragrant herbs like rosemary, thyme, and basil, to tart fruits like berries, citrus, and stone fruits, and even earthy roots and mushrooms.
The key is to let the seasons and your personal preferences guide your choices. Perhaps you’re drawn to the vibrant, floral notes of lavender in the summer or the warm, comforting aromas of cinnamon and clove in the fall. Or maybe you’re feeling adventurous and want to experiment with more exotic ingredients like turmeric, ginger, or even chili peppers.
Regardless of your preferred flavors, the process of infusing the vinegar or oil is relatively straightforward. You can opt for a simple “cold” infusion, where you simply combine the ingredients and let them steep over time, or you can go the “hot” route and briefly heat the vinegar or oil before adding your aromatic companions.
Mastering the Infusion Process
Once you’ve selected your base and your infusion ingredients, it’s time to dive into the infusion process. As the experts at Mountain Rose Herbs advise, it’s important to pay attention to a few key details to ensure a successful and safe infusion.
First and foremost, cleanliness is crucial. Be sure to thoroughly clean and sterilize your jars or bottles before use, and consider using wide-mouth jars to make the extraction process easier down the line. Additionally, it’s best to avoid plastic containers, as the acidic nature of the vinegar or oil can cause leaching.
When it comes to the actual infusion, the ratio of vinegar/oil to ingredients can vary depending on your personal preferences and the ingredients you’re using. As a general guideline, a 2:1 ratio of vinegar/oil to fresh herbs or fruits often works well, while dried ingredients may require a bit less – around 2-3 tablespoons per pint jar.
It’s also worth noting that patience is a virtue when it comes to infusions. Depending on the ingredients, the steeping process can take anywhere from a few days to several weeks. Be sure to label your jars with the contents and the date, and keep an eye out for any signs of fermentation, such as a SCOBY (symbiotic culture of bacteria and yeast) forming on the surface.
Unleashing the Flavor
Once your infusion is ready, the real fun begins! Herbal vinegars can be used as the base for delectable salad dressings, marinades, or even added to soups and sauces for a flavorful punch. Infused oils, on the other hand, are perfect for drizzling over roasted vegetables, using in baking, or even as a finishing touch on dishes.
For the herbalists out there, vinegar extracts can also be transformed into beneficial products like oxymels (a blend of vinegar and honey) or used as the foundation for shrubs (also known as drinking vinegars). The possibilities are truly endless!
So, what are you waiting for? Grab your favorite vinegar, oil, and an array of fresh or dried ingredients, and let your culinary creativity run wild. Who knows, you might just discover your new signature flavor that takes your cooking to the next level!
And remember, as you embark on your DIY infusion adventure, be sure to explore the wide range of high-quality kitchen tools and equipment that can help you on your journey.

