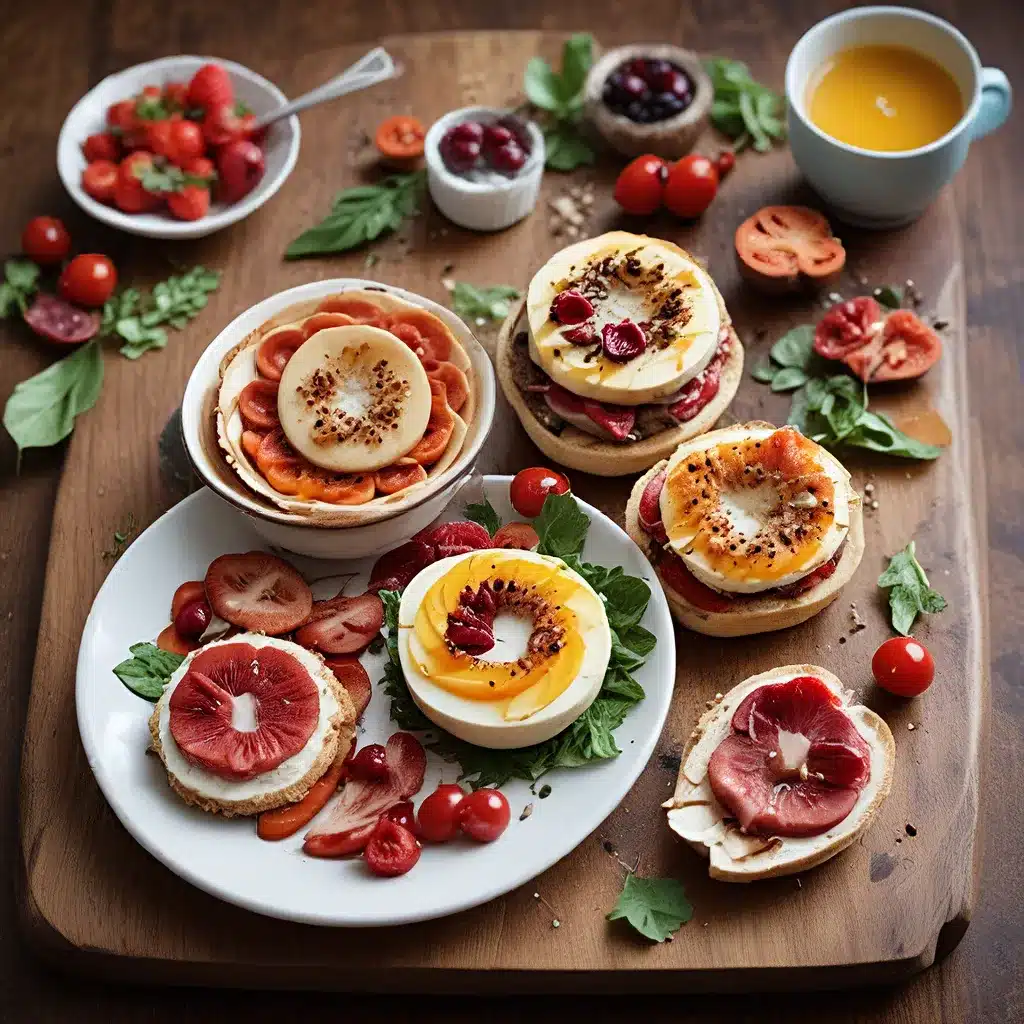
Unlocking the Secrets of Drool-Worthy Food Photos
As a self-proclaimed foodie and amateur photographer, I’ve often found myself staring longingly at the beautifully styled and expertly lit food shots on my social media feeds, wondering how on earth those food bloggers and Instagrammers manage to make even the most humble of home-cooked meals look like they belong in a glossy magazine spread. Well, my friends, the time has come to let you in on the secrets of the trade.
Food photography is an art form in its own right, requiring a keen eye, a steady hand, and an arsenal of clever tricks and techniques. But the good news is, you don’t need a professional studio, a team of stylists, or a DSLR the size of a small child to start capturing drool-worthy food photos right from the comfort of your own kitchen.
Mastering the Fundamentals of Food Photography
As the experts at Digital Photography School advise, the first step in elevating your food photography game is to get a firm grasp on the fundamentals of photography. This means understanding the key elements like aperture, shutter speed, ISO, and white balance, and how to manipulate them to create the perfect shot.
But don’t worry, you don’t need to be a seasoned pro to start taking impressive food photos. In fact, the beauty of food photography is that it’s a relatively approachable genre, even for beginners. As long as you have a basic camera (even a smartphone will do!) and a keen eye for composition, you’re well on your way to mastering the art.
One of the most important considerations in food photography is lighting. As Jessica Hirsch, a member of the Sony Alpha Imaging Collective, explains, natural light is often the best option, as it can create a soft, flattering glow that enhances the natural beauty of the food. But if you don’t have access to a well-lit window, you can always experiment with artificial lighting, such as softbox lamps or reflectors, to achieve a similar effect.
Mastering the Art of Food Styling
But great lighting is only half the battle. The way you style and present your food is just as crucial in creating those mouthwatering shots. As Alec Mills, a Seattle-based lifestyle and food photographer, advises, “Less is often more” when it comes to food photography. Avoid cluttered backgrounds and excessive props, and instead, let the food be the star of the show.
One effective trick is to use simple, neutral-colored plates and surfaces to create a clean, minimalist backdrop that allows the vibrant hues and textures of the food to take center stage. And don’t be afraid to get creative with your camera angles, either. Shooting from above, for instance, can create a beautiful, flat-lay composition that highlights the intricate details of a dish.
Bringing It All Together: Post-Processing Perfection
Of course, even the most expertly styled and lit food photos can benefit from a bit of post-processing magic. As the authors of “Food Photography: From Snapshots to Great Shots” explain, tools like Adobe Lightroom and Photoshop can help you fine-tune your images, adjusting things like exposure, color balance, and clarity to make your food photos truly pop.
But the key here is to use these tools judiciously, and not to go overboard with excessive editing. After all, the goal is to showcase the natural beauty and deliciousness of your culinary creations, not to create a completely artificial, digitally-manipulated fantasy.
Putting It All Together: My Journey to Mouthwatering Food Photography
Now, I know what you might be thinking: “That all sounds great, but how do I actually put these tips into practice?” Well, let me share a personal story that might just inspire you to get out there and start snapping some drool-worthy food photos of your own.
It all started when I discovered a new local restaurant called Saint Marc USA. The moment I stepped through the doors, I was captivated by the warm, inviting atmosphere and the tantalizing aromas wafting from the open kitchen. But it was the food that really caught my eye – beautifully plated dishes that looked like they belonged in the pages of a high-end food magazine.
I knew I had to try and capture the magic of that experience, so I set out to put my food photography skills to the test. I started by scouting the perfect spot near a large window to take advantage of the natural light. Then, I carefully arranged the dishes, playing with different angles and perspectives to find the most visually appealing compositions.
But the real challenge came in the post-processing stage. As I pored over the images, I found myself fine-tuning the exposure, boosting the clarity, and adjusting the color balance to really make the food pop. And you know what? The results were nothing short of stunning. The vibrant hues, the mouthwatering textures, and the overall sense of artistry and craftsmanship – it was all there, captured in a single frame.
Conclusion: Embrace Your Inner Food Photographer
So, there you have it – the secrets to creating drool-worthy food photos right from your own kitchen. Whether you’re a seasoned foodie or a complete newcomer to the world of food photography, the key is to embrace the process, experiment with different techniques, and have fun with it.
Remember, great food photography is all about capturing the essence of a dish – the flavors, the textures, the stories behind each ingredient. And with a little practice, a keen eye, and a willingness to get creative, you too can start turning your culinary creations into works of art that will have your friends and followers begging for more.
So, what are you waiting for? Grab your camera (or your smartphone), head to the kitchen, and start snapping away. Who knows, you might just discover a hidden talent – and a new-found appreciation for the art of food photography in the process.

